The way your home looks when buyers first see it — both online in listing photos and in person during showings — dramatically affects how many offers you receive and at what price. Sellers who invest the time and modest money required to properly prepare and stage their homes before listing consistently outperform sellers who list immediately with no preparation. In Queens, where buyers often see dozens of listings and know exactly what comparable properties look like, first impressions matter more than ever.
This guide covers the preparation steps that actually move the needle: cleaning, decluttering, staging, deferred maintenance, curb appeal, and photography. These are not expensive renovations — they are relatively low-cost, high-impact steps that help your home compete effectively from day one.
Start With a Deep Clean — Every Room, Every Surface
Before staging, before photography, before a single buyer walks through your door — clean. Not a once-over clean. A thorough, professional-grade deep clean of the entire property. This means cleaning inside and behind appliances, washing windows inside and out, scrubbing grout lines in bathrooms and kitchens, cleaning baseboards, light fixtures, ceiling fans, and vents, and eliminating any odors. Pet odors, cooking smells, and musty basement or closet odors are deal-breakers for many buyers — and sellers often become nose-blind to smells that are immediately apparent to visitors.
Consider hiring a professional cleaning crew for the initial deep clean. The cost — typically $300–$600 for a full home — is trivial relative to your sale price and sets a clean baseline that is easier to maintain during the listing period. If you have carpets, have them professionally steam-cleaned. If hardwood floors are dull or scratched, consider professional buffing and polishing before listing.
Declutter Every Room — The 30–40% Rule
One of the most effective things you can do before listing is to remove 30–40% of your belongings from every room. This is not about throwing things away — it is about creating visual space. Buyers need to see the rooms, not your possessions. Overfull closets, shelves packed with books and collectibles, countertops covered with appliances, and rooms crowded with furniture all make a home feel smaller and harder to evaluate.
Rent a storage unit for the duration of the listing period if needed. Pack seasonal items, excess furniture, personal collections, and anything that is not being used regularly. Clear kitchen countertops of everything except one or two attractive items. Remove half the clothes from closets to make them appear spacious. Pack away personal photos and heavily personalized decor — buyers need to picture themselves in the space, not feel like they are visiting someone else's home.
Stage Each Living Area for Its Intended Purpose
Once you have decluttered, stage each room to show buyers exactly how the space works. Staging does not have to mean renting furniture or hiring a professional stager (though both can be worthwhile for vacant or large homes). It means arranging your existing furniture and decor to create clear, functional, inviting spaces.
Living Room
Arrange seating to create a natural conversation area that is anchored by a rug and oriented toward the focal point of the room (fireplace, view, or media area). Remove extra chairs or side tables that crowd the space. Ensure there is clear flow from the room entrance to the seating area. Add simple decorative touches: fresh flowers or a plant, a few art books, neutral throw pillows. Remove family photos from the walls and replace with neutral art or simply leave walls clean.
Bedrooms
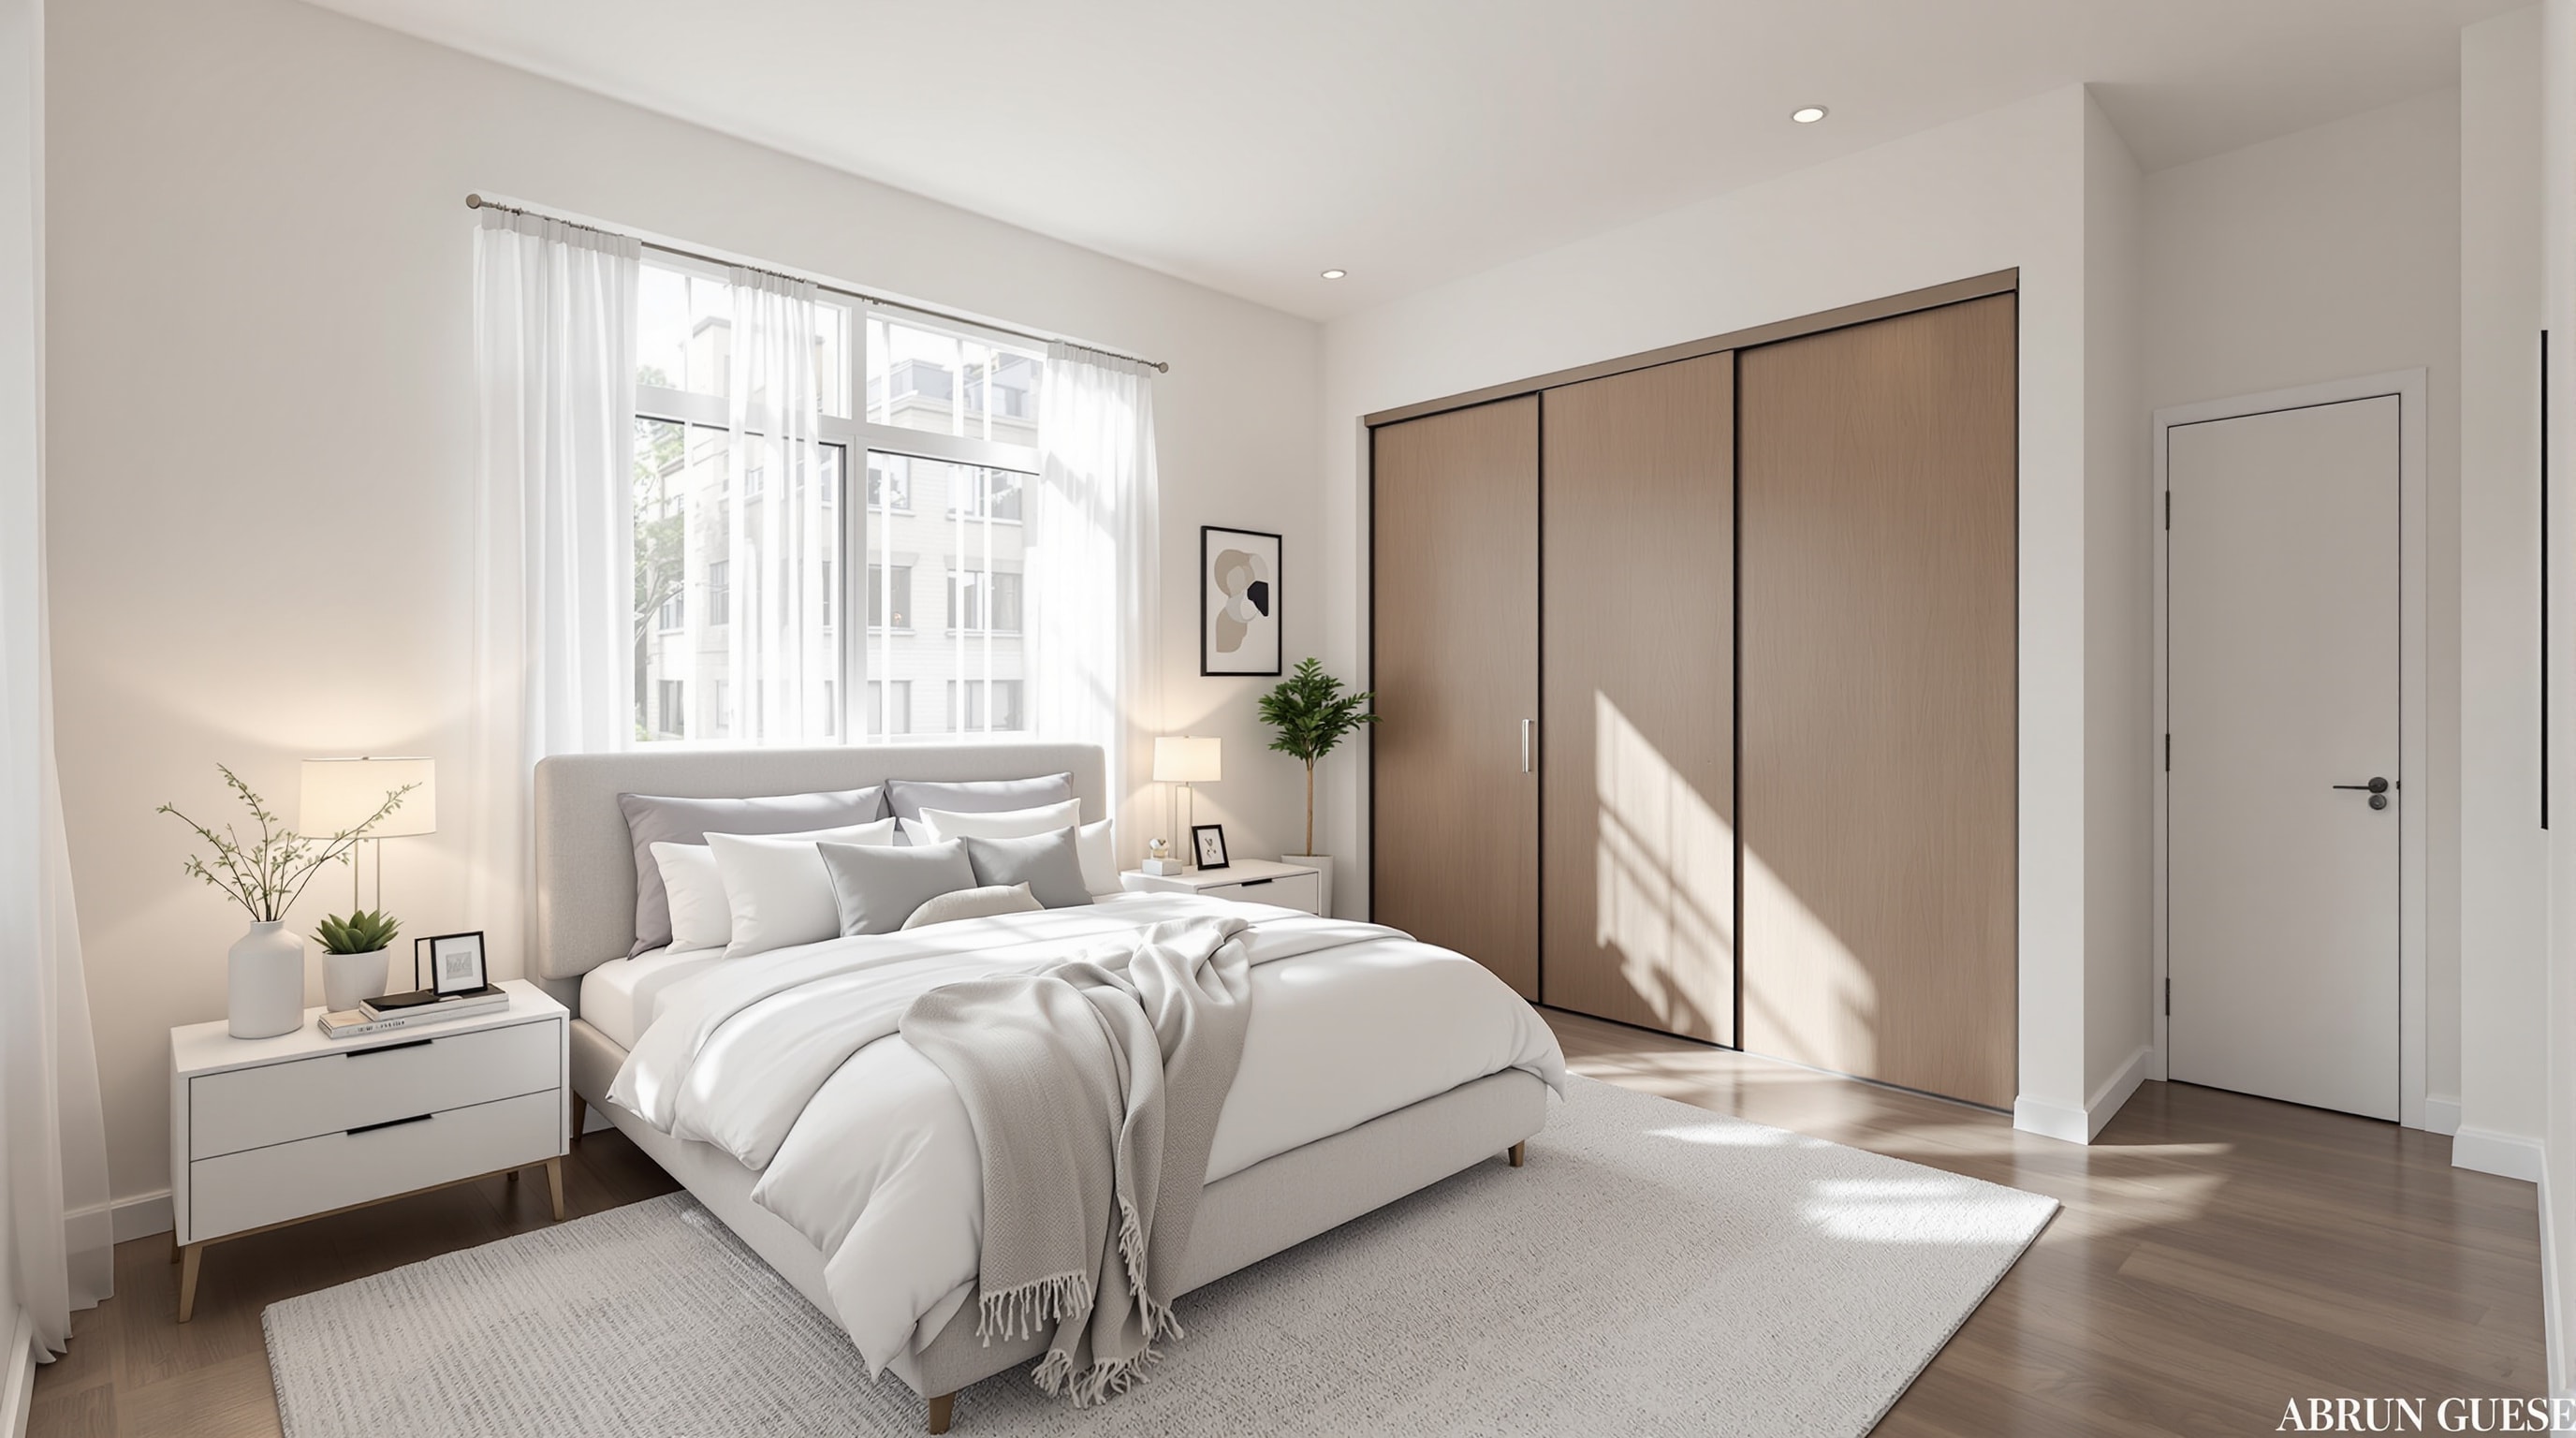
The primary bedroom should feel like a retreat. Make the bed with fresh, high-quality linens in a neutral palette. Remove excess furniture — in Queens bedrooms, which are often small by national standards, every square foot matters. Clear nightstands of everything except one lamp and one small item. Remove personal items from dressers. If the room has a closet, ensure it is organized and has visible space — buyers obsess over storage.
Kitchen
Clear countertops entirely, leaving only a bowl of fruit, a coffee maker if attractive, or one plant. Clean the interior of the refrigerator — buyers open it. Clean the oven and stovetop until they shine. If cabinet hardware is outdated or worn, replacing it is one of the cheapest and highest-impact updates you can make (new hardware typically costs $2–5 per piece). Ensure the kitchen smells fresh and clean.
Dining Area
Set the dining table simply: a centerpiece, clean placemats or a runner, and a few chairs in good condition. If the dining area doubles as a homework or office space, remove all signs of its secondary use and present it solely as a dining space. Remove extra chairs that crowd the room.
Address Deferred Maintenance Before Buyers See It
Buyers notice deferred maintenance — and it makes them wonder what else has been neglected. A buyer's home inspector will put every small defect in a written report, which the buyer's attorney will use to negotiate. Getting ahead of common issues yourself costs less and prevents them from becoming negotiating leverage against you.
Walk through every room with fresh eyes and a notepad. Look for:
- Leaking faucets: Fix dripping faucets in kitchens, bathrooms, and utility areas. The repair is usually inexpensive but the visual signal of neglect is outsized.
- Doors and windows that stick: Adjust door hardware, plane sticking doors, and ensure all windows open and close properly and lock securely.
- Grout and caulk: Re-grout or re-caulk around tubs, showers, and sinks where grout is stained, cracked, or missing. Fresh caulk and grout makes bathrooms look renovated at minimal cost.
- Paint touch-ups: Touch up scuffs, nail holes, and dings throughout. If walls are heavily marked or in a bold color, repaint in a light neutral — buyers respond to blank-canvas spaces. Focus on high-traffic areas: hallways, kitchens, and primary bedrooms.
- Light bulbs: Replace every burned-out bulb and ensure all fixtures have matching, bright bulbs. Buyers associate poorly lit spaces with problems. Maximize light in every room before showings.
- Window screens: Replace torn or missing screens. They are inexpensive and buyers notice them.
- Cabinet and door hardware: Tighten loose hinges and handles. Replace any hardware that is broken or very dated.
Boost Curb Appeal — The First 30 Seconds Matter
Buyers form an impression of your home before they walk through the door. In Queens, where many homes have front yards, stoops, and entry paths, curb appeal is a genuine differentiator. Steps to improve curb appeal are generally low-cost but high-visibility:
- Power wash: Rent a pressure washer and clean the driveway, front path, and any exterior surfaces that have accumulated dirt, mildew, or grime. The difference is dramatic and the cost is minimal.
- Front door: Repaint or refinish the front door if it is faded, chipped, or outdated. A fresh front door in a classic color (navy, black, deep green, or red) for a Queens row house or single-family home makes a strong first impression. Replace door hardware if it is worn or mismatched.
- Landscaping: Mow the lawn, trim hedges, pull weeds, and add fresh mulch to garden beds. Plant a few seasonal flowers in pots by the front door. Even small landscaping improvements significantly change how buyers feel approaching the property.
- House numbers: Ensure house numbers are visible, properly aligned, and not damaged. New house numbers cost under $30 and signal that the property is well-maintained.
- Steps and railings: Clean steps thoroughly and ensure railings are secure. Loose or rusted railings create safety concerns that buyers will flag.
- Exterior lighting: Test all exterior fixtures and replace burned-out bulbs. If exterior lighting is very dated, replace fixtures — they are inexpensive and the impact on evening showings is significant.
Invest in Professional Photography
More than 90% of buyers begin their home search online. The listing photos are the first showing — often the only showing that determines whether a buyer requests an in-person visit. Poor photography is one of the most common and costly mistakes Queens sellers make. Dark, cluttered, wide-angle-distorted listing photos generate fewer showings and lower offers.
Professional real estate photography in Queens typically costs $200–$500 depending on the size of the property and whether video or drone footage is included. This cost is almost always recovered many times over in higher offers or faster sales. If your listing broker does not include professional photography as standard practice, ask about it explicitly — it should be part of every listing.
Before the photographer arrives, ensure the home is fully staged and cleaned, all lights are on, curtains and blinds are open to maximize natural light, and vehicles are removed from the driveway. The photographer should have full access to shoot each room from the best angle without obstructions. Ask to review the photos before they go live and request retakes if any images do not represent the property well. For guidance on working with real estate professionals during the sale process, see the FTC guide to choosing a real estate professional.
Pre-Listing Preparation Checklist
- Deep clean entire home (consider hiring professionals)
- Declutter all rooms — remove 30–40% of contents
- Stage living room, bedrooms, kitchen, and dining area
- Fix leaky faucets, sticking doors, torn screens
- Re-caulk and re-grout bathrooms and kitchen
- Touch up paint throughout; repaint if heavily marked
- Replace all burned-out bulbs with bright, consistent lighting
- Power wash exterior, driveway, and paths
- Freshen front door, landscaping, and house numbers
- Book professional photographer before listing
For a complete overview of the selling process from pricing to closing, see our Home Seller's Guide. And if you are planning to simultaneously buy your next home while selling, our Home Buyer's Guide and NYC Closing Process guide have everything you need for that side of the transaction.